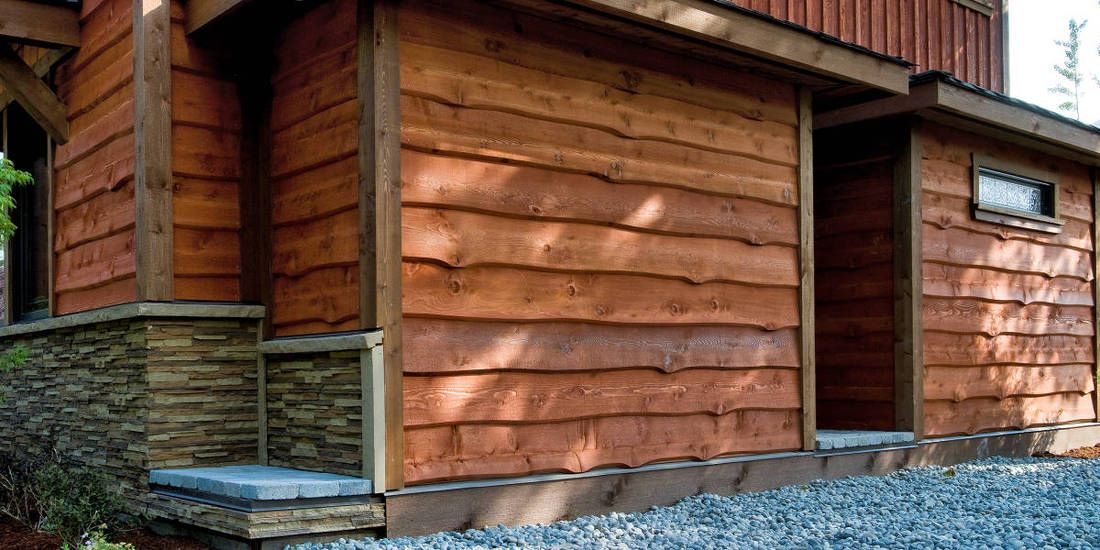
How to install vinyl siding on a house
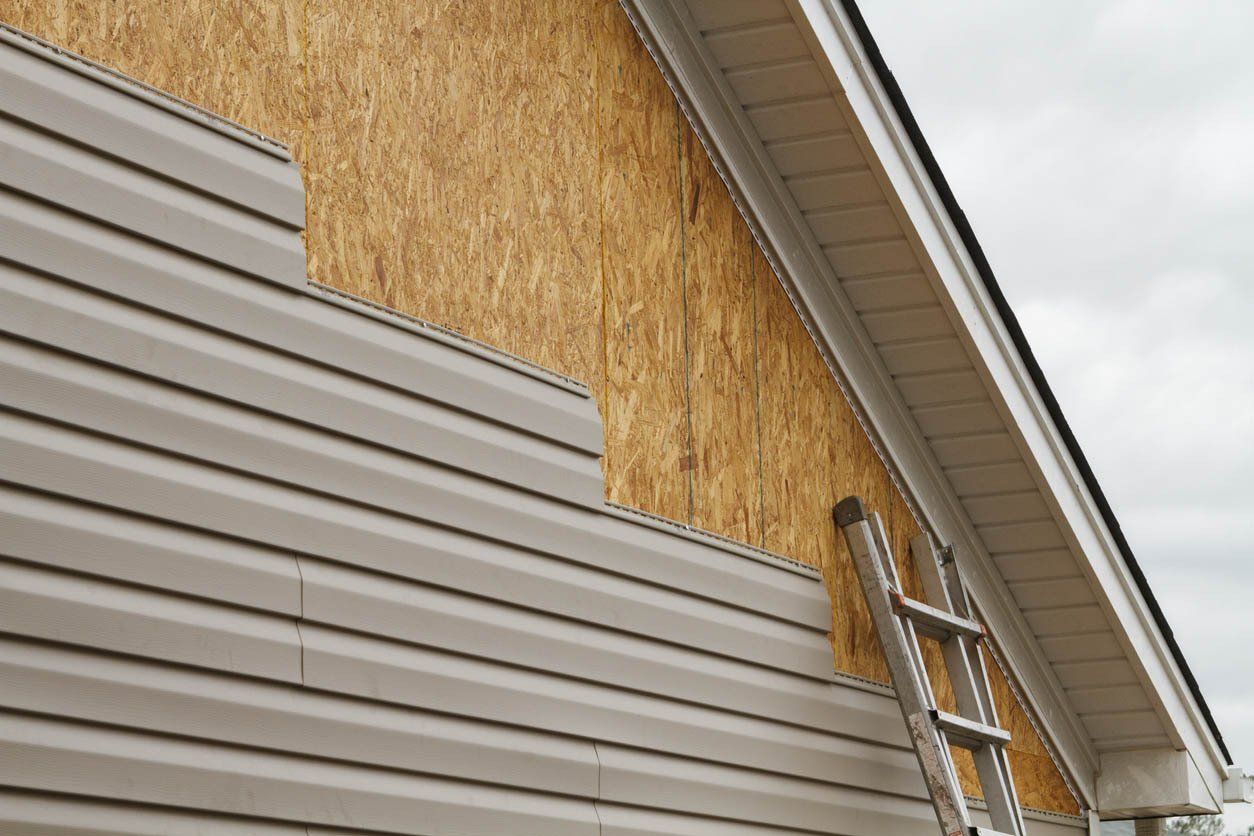
1. Remove Old Siding
Take a zip tool and start at a loose spot or at the end of the siding to insert the tool. Be careful with this job if the siding is old. You don’t want vinyl splinters in your body. Carefully slide the zip tool under the lower part of the siding and hook the locking edge. Now pull down and slide it horizontally to unlock the siding. As you remove siding pieces, draw a line before removing the nails with a pry bar. This can act as a reference for installing new siding. When you remove old siding you should also consider replacing the insulation material. If you have wood siding, you may as well install new vinyl siding over it instead of replacing it.
2. Prepare the outside of your home
Vinyl siding can create some structural defects and hide moisture problems. That’s why you need to get rid of those issues before you can proceed with the installation. Check the boards and tighten them if necessary. If a board is rotting, replace it with a new one. If there is caulking around your old windows and doors, now is the time to scrape them away. It’s also important to clear the working area so that you can get unobstructed space for installing the siding. Remove light fixtures, mailboxes, down-spouts, and other such obstructions. Use a rope to tie back plants and shrubs that may be affecting your work area.
3. Apply a house wrap
You need to install house wrap or replace the old one. It acts as an excellent water barrier that sits behind the siding and prevents water from damaging the boards and leaking into your home. If there are vertical seams in the house wrap you need to caulk those areas. later in the installation process, you need to caulk between the windows and house wrap and behind the J-channel for moisture sealing.
4. Create outlines
Once you’re done applying the house wrap and caulking the necessary areas, it’s time to create outlines for your siding project. Get a chalk and slowly create outlines around your home with as much precision as possible. These lines will act as a guide for installing the new siding.
5. install the starter strip
With the chalk line as your guide, place the vinyl starter strip even with the top of the line. When you install the starter strip it’s important to consider how the corner posts would fit in and leave a bit of room for that. Begin with a wide starter strip and install it an inch below the top extreme of the foundation. Wide starter strips are preferred in this position since they protect key areas of your home from snow and rain and prevent structural damage. While installing the starter strip don’t nail it too tight. Leave a small gap of a quarter inch so that the strip can expand during the hot seasons.
6. place the corner pieces
Once the starter strip is installed, it’s time to add the corner pieces. Install inside corner pieces positioned around ¾ inch under the starter strip. Leave some room below the underside if you’re using a vinyl soffit. Proceed to install inside corner pieces on the adjoining walls and nail them at the top. The subsequent nails should go around 8 to 12 inches below that. Remember not to nail the strips too tight for the same reason mentioned above.
Once you’re done with the inside corner pieces, it’s time for the outside corner pieces. While installing outside corner post pieces, allow a gap of a quarter inch at the top where the corner pieces meet with the eaves. Keep in mind that the post needs to extend past the bottom of the starter strip by around ¾ inches. Nail positioning for the outside corner pieces is similar to the execution for inside corner pieces. Don’t nail things too tight and splice where needed. Finally to cap the outside corner posts, use flaps of 2.5 inches and bend them to terminate and close the post.
7. put siding trim around doors and windows
Install the casing and nail it loosely to the wall. Add side and bottom J channels and line them flush. Cut a tab in the bottom of the side J channels and fold it. Then cut the drain tab and bend it. Once the side J channels are done, install the bottom J channel so that it extends beyond the side casing about the width of the J-channel’s face.
8. install siding panels
Your vinyl siding panel should easily snap into the starter strip. When it’s done, nail them to the wall. Leave a bit of space where panels meet the corners. For overlapping panels, you get 1-¼ inch pre-notched cutouts. Leave the final nail for each panel around 10 inches from the end for ease of overlapping.
9. proceed upward
With the step mentioned above, keep installing the siding panels and make your way up around the doors and windows. When you reach the eaves, get the under-sill trim and nail it to the sidewall. Cut the top siding panel to length from the lock of the panel to the top of the under-sill trim. Finally, use a snap-lock punch to snap the top panel in place.
If you follow the above-mentioned steps, you would be able to install vinyl siding on your home with ease. However, it’s a challenge for beginners who haven’t been involved in any major home improvement project. That’s why it’s best to call a professional so that you can get your siding installed properly. Get in touch with our team today if you're looking to install new siding on your home.
Blog